Nokia Music Recovery - Recover Deleted Music from Nokia

Now free MP3 files have been widely shared over the Internet. Sometimes, you have to buy some rare or limited Mp3 music due to the strengthening protection of intelligence. But just like other data files such as pictures, videos, emails, documents, etc, your cherished MP3 files are prone to be deleted from Nokia G310 by misoperations, formatting, disk corruption, virus attack and some other reasons.
When you are caught in such a situation, you need to find and download a third-party music recovery tool to help you out. It is the easiest and most efficient way to recover lost or deleted mp3 files. Read here, you may start to frantically search for a reliable MP3 recovery tool. But what is the best one? read on, and then you will get the answer.
- Part 1: How to restore lost music from Nokia G310 on Mac
- Part 2: How to restore lost music from Nokia G310 on Windows
Android Data Recovery allows you to solve music files loss problems for free within simple steps. No matter you are a beginner or expert, you can easily apply this software to recover your lost music files.
If you have lost your favorite music, songs, and photos while formatting your Nokia G310 systems and looking for a solution, here is a file recovery software for Android phones. It retrieves all kinds of files from Nokia G310 in a simple and easy way.
Step 1: Download and launch the Aiseesoft FoneLab Android Data Recovery for Mac
Download and install the Aiseesoft FoneLab Android Data Recovery for Mac in your Mac computer, when you open it, a dialog box will pop up to remind you whether to register, purchase or free try.
Note: You can free try this software in 30 days

Step 2: Connection
Run this powerful Android data recovering software on your Mac computer, and then connect your Nokia G310 device to computer via the USB cable. The program will detect your device automatically.
Step 3: Enable USB debugging.
Android Data Recovery will prompt you to enable USB debugging on your Nokia G310 if you don’t open the debugging mode. The program will detect the version of your Nokia G310 device automatically and give you the instruction of opening the USB debugging mode on your G310. After finishing the operations on your device, click “OK” button.
Step 4: Select the Audio(music) you want to recover.
After connection, all file types on your Nokia G310 will be showed in the interface. Choose the file types you want to recover, such as Audio/(music), contacts, messages, messages attachments, call logs, photos, gallery, picture library, videos and other documents. Check the file types you want to recover and click “Next”. The program will scan your device automatically.
Step 5: Recover Nokia G310 music
When the scanning is finished, all types of files will be listed in categories on the left control. You are allowed to check the detailed information of each data. Preview and select the data you want to recover, and then click “Recover” button to complete recovering process.
Step 1: Download and launch the Android Data Recovery
Download and install the Android data recovery tool in your Windows computer, you can free try this software in 30 days.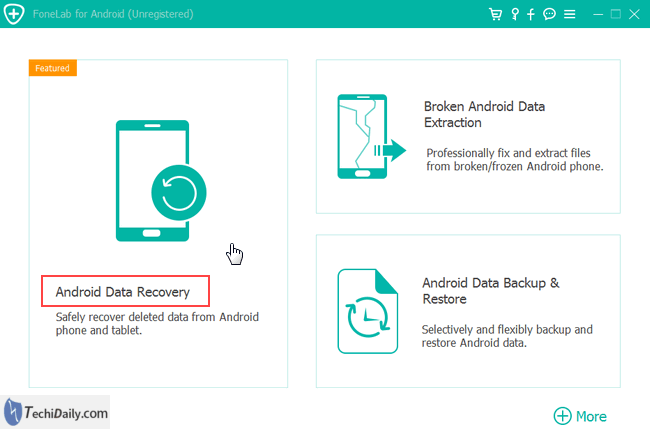
Step 2: Connection
Connect your Nokia G310 device to your Windows computer via the USB cable. Wait for seconds before the device is detected. Install the device driver on your computer if it hasn’t been installed.
Step 3: Enable USB debugging.
Allow USB debugging when your Android prompts you of USB debugging permission. After finishing the operations on your Nokia G310, click “OK” button.
Step 4: Preview and recover the lost music(audio) files.
Soon, all Android available files will be classified into category on the left. You can toggle the button of “Only display the deleted item(s)” to “On”, so that you can quickly find the wanted Android file. Click “Recover” button and choose a destination folder to recover files. Within seconds, you can navigate to the file folder and check your deleted music files from Nokia G310.
With wizard-like user interface, you just need to follow simple prompts to finish Nokia G310 recovery. No prior skill is required. Every Nokia user can recover lost music with no effort.

- Title: Nokia Music Recovery - Recover Deleted Music from Nokia
- Author: Vivienne
- Created at : 2024-07-17 02:27:34
- Updated at : 2024-07-26 17:43:08
- Link: https://review-topics.techidaily.com/nokia-music-recovery-recover-deleted-music-from-nokia-by-fonelab-android-recover-music/
- License: This work is licensed under CC BY-NC-SA 4.0.